Other possible reasons include a faulty display driver or night light settings enabled in the settings control panel. In some cases, third-party software may interfere with your display settings. Many things can cause this problem, but you can take some simple steps to resolve it. This blog post will show you how to troubleshoot and fix the yellow screen on Windows 10. Keep reading for more information!
What Causes The Yellow Screen?
As we mentioned, there are a few different things that can cause this problem. Here are some simple steps that will help you identify the issue.
8 Best Keyloggers For Windows 10/11Fix: Driver irql_less_or_not_equal Error in Windows 10/11How to Remove Weather from Taskbar in Windows 10?
If your Visual Display Unit displays a yellow on the screen, there may be a hardware problem.Turn up the brightness of the display to its maximum level. Update the graphics card driver or turn off the night light setting to resolve the problem.Another solution is to adjust the color enhancement settings.
If the yellow screen persists, try the fixes listed below.
Fixing Yellow Screen On Windows 10 Issue
Switch Off The Night Light Setting
A common way to solve this problem is to turn off the Night Light option on your Windows 10 PC. A yellow screen may result if you have enabled the night light setting. Follow these steps to fix it.
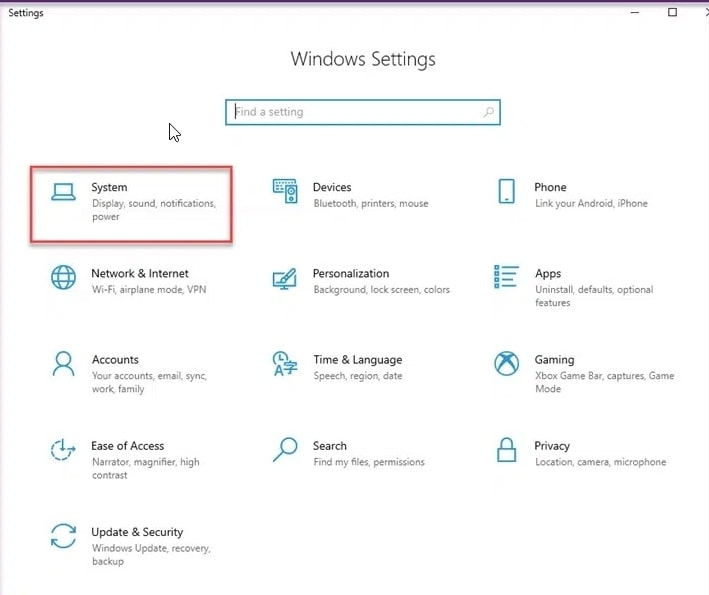
First, Open the settings window by pressing Windows key+I.To turn it off, go to the Settings app and click on System.
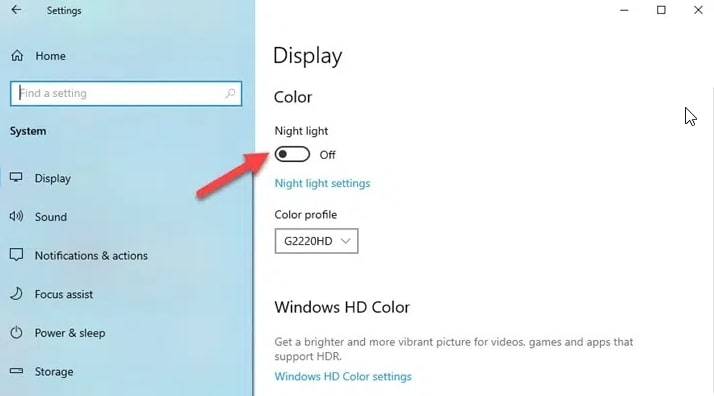
Then, click on Display and turn off the Night light toggle.
We hope this will fix the problem. If not, you can continue following the steps below.
Update The Graphics Card Driver
Sometimes the graphics card driver you are using may be corrupted, resulting in the yellow tint on your computer screen. You may encounter a lot of trouble if your drivers are outdated or installed incorrectly. Follow these steps to update the graphics card drivers.
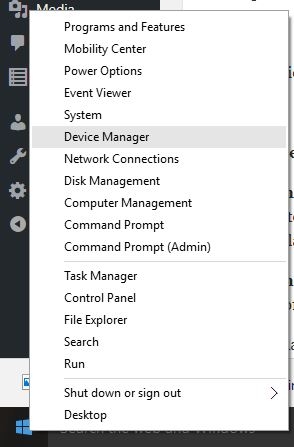
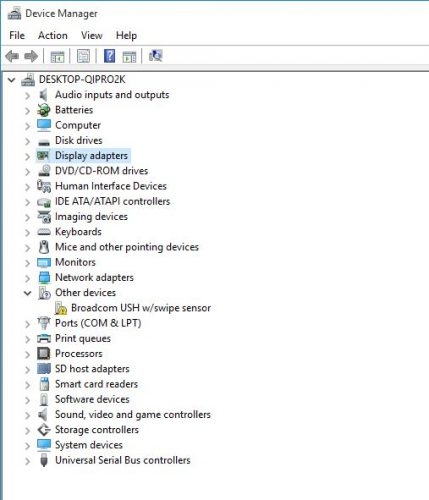
First, search Device Manager in the Windows taskbar search box then clicks on Device Manager to open it.
Now, expand the Display adapter with a double-click.
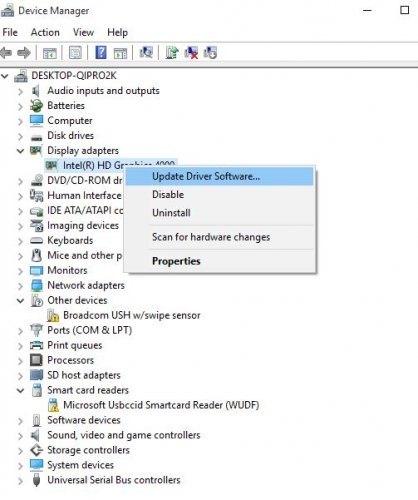
Then, right-click on your graphics card driver and choose update driver software.
Choose the option to search for drivers automatically and let it get updated.After you finish the update, restart your system and see if the issue is resolved.
Alternatively, You can update your graphics card driver by going to the manufacturer’s website and downloading the latest driver.
Add A New Default Color Profile
If the previous solutions didn’t work, you could try adding a new default color profile. This method will add your default color profile and fix this problem. It’s been proven beneficial by lots of people. It would be best if you tried it. Here’s how.
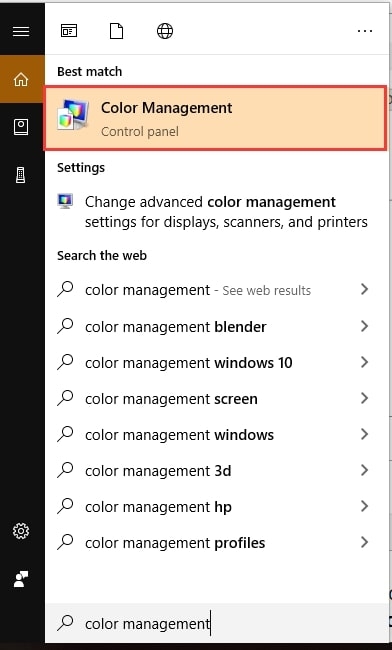
First, Choose the Color Management app from the top matches by typing color management in the Cortana search box.
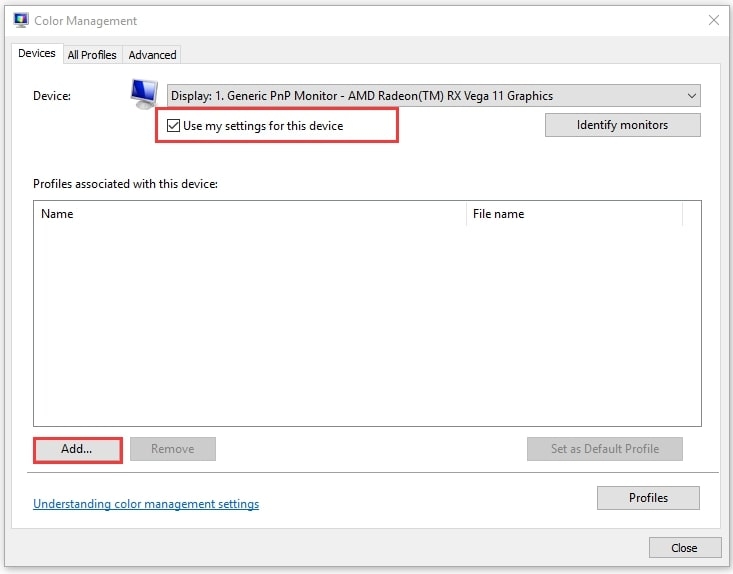
From the Device drop-down menu, choose the monitor with a yellow tint, and then check the box for Use my settings for this device.At the bottom of the window, click the Add button.
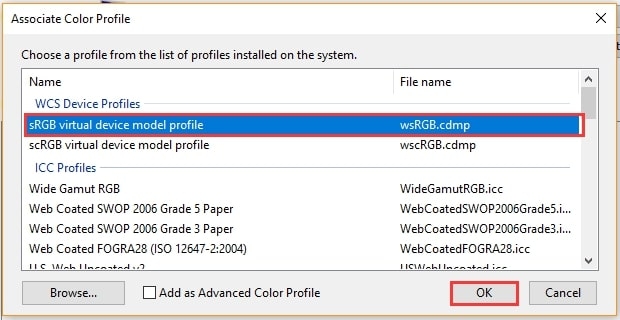
Now Under the WSC Device Profiles section, click the sRGB virtual device model profile. Then click OK.
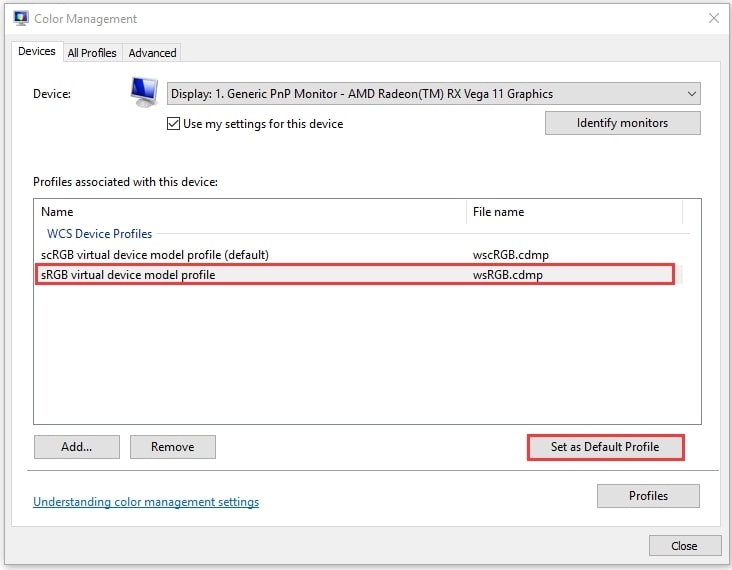
Choose the sRGB virtual device model profile and click the Set as Default Profile button in the Color Management window.
Now, Restart your computer and see if the problem is fixed.
Adjust The Color Enhancement Settings
The color settings on your graphics card might not be set to their defaults. In that case, resetting your color settings might fix the yellow tint. A graphics card’s configuration utility usually allows you to adjust color settings.
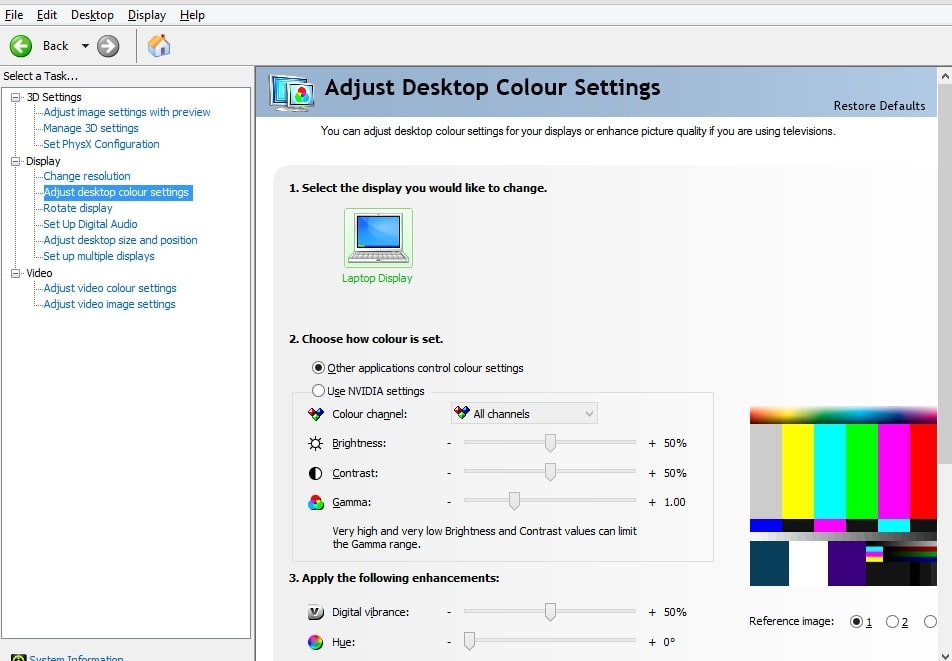
For example, you can adjust Intel color settings by right-clicking the desktop and selecting Graphics Properties.Then choose Display and Color Enhancement from the options displayed directly below.
Check the control panels for NVIDIA and AMD for similar options, and reset the color settings to default.
Reset Color Profile Settings To Default
If you still can’t fix the problem, you might need to reset your Color Profile Settings to Default. This solution is usually effective when other solutions don’t work. To reset color settings to default in Windows 10, follow these steps:
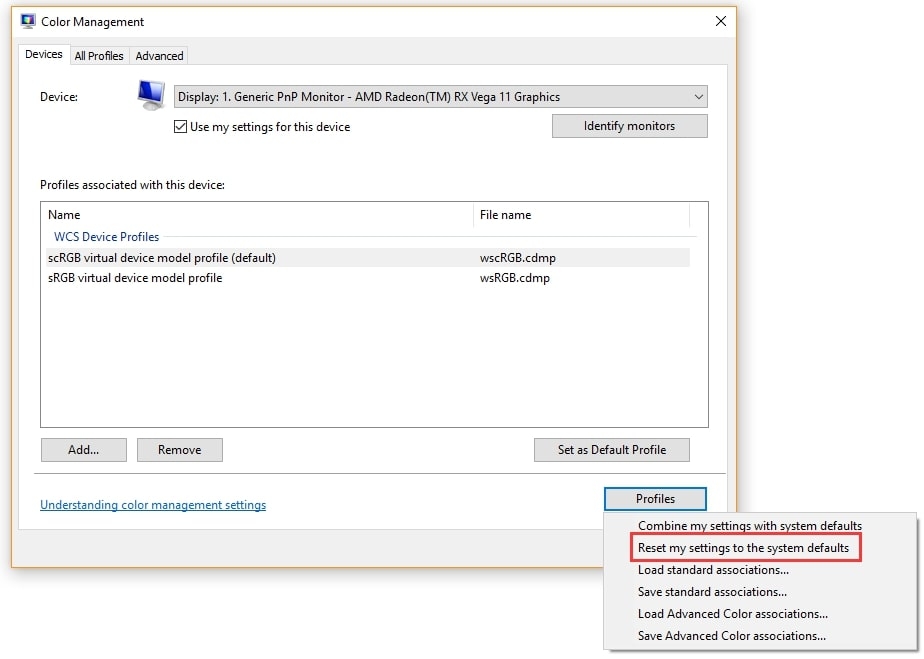
First, open the Start menu and type Color Management into the Cortana search box.Now, click on Color Management to open it.From the Device drop-down menu, select the monitor with a yellow tint.Then, At the bottom of the window, click the Profile button and select Reset my settings to the system defaults.
If the monitor’s yellow tint disappears once you finish the above steps, it will revert to its default color profile.
Conclusion
We hope one of the solutions above helped you fix the yellow tint on your Windows 10 computer screen. Please feel free to use the dedicated section below if you have other thoughts or suggestions about this topic. Thanks for reading!